
I’ve never been one to follow celebrities, but even I couldn’t help but notice the popularity of balloon garlands in everything from celebrity weddings to holiday decorations. Such a simple concept with a big impact, so I figured I’d give it a try.
Here’s what you need:
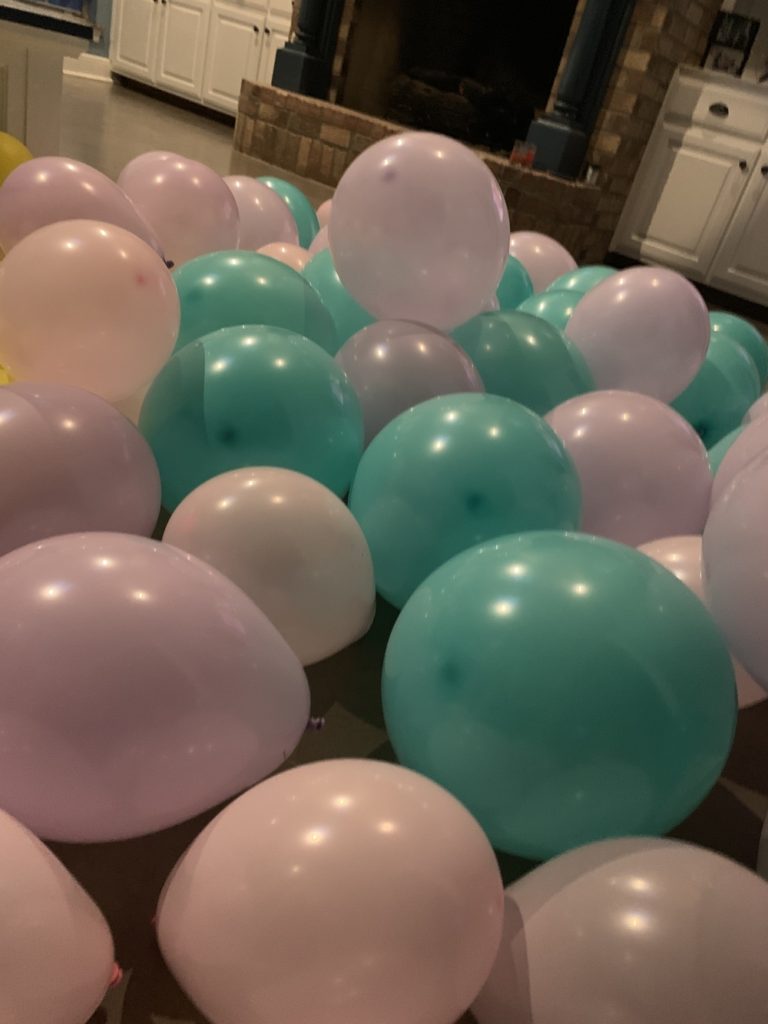
- Balloons in various sizes – pick you color scheme and either buy in different sizes or pick a different size for each color, which is what I did.
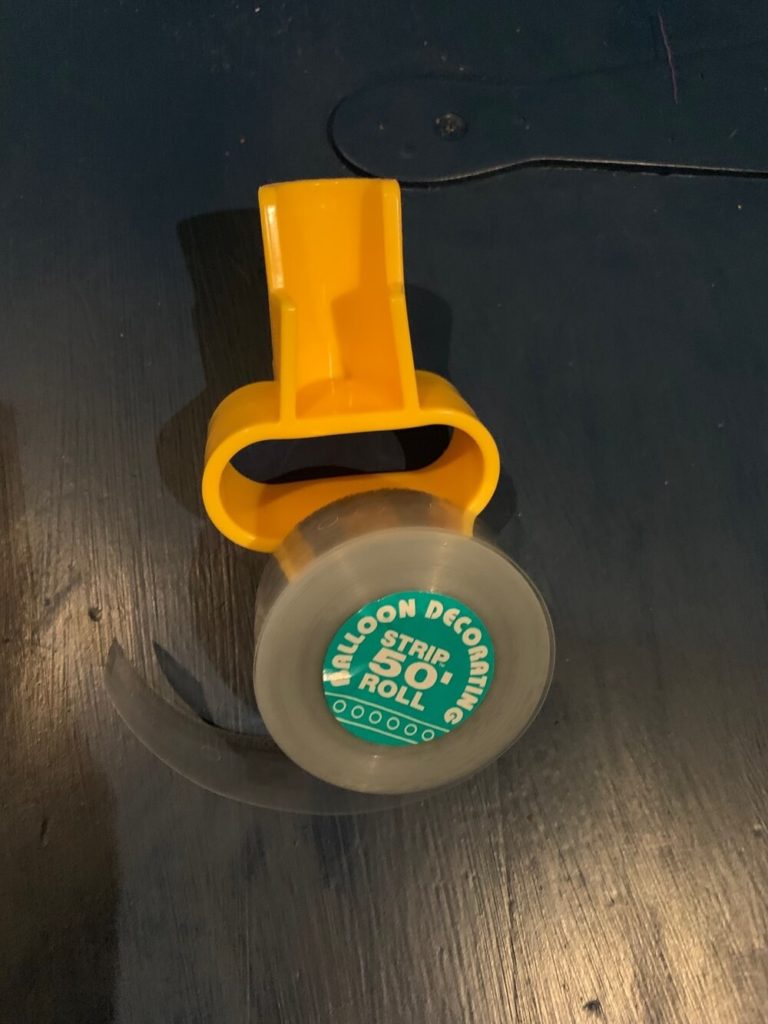
- Balloon tape – you can find this anywhere from party stores to amazon
- Low temp glue gun or glue dots – I tried the glue gun method.
- Electric air inflator
- Something to help tie your balloons (or balloon clips), because trust me, your fingers are going to HURT after a while of tying
- Pushpins for attaching your balloon to the wall, doorframe, etc.
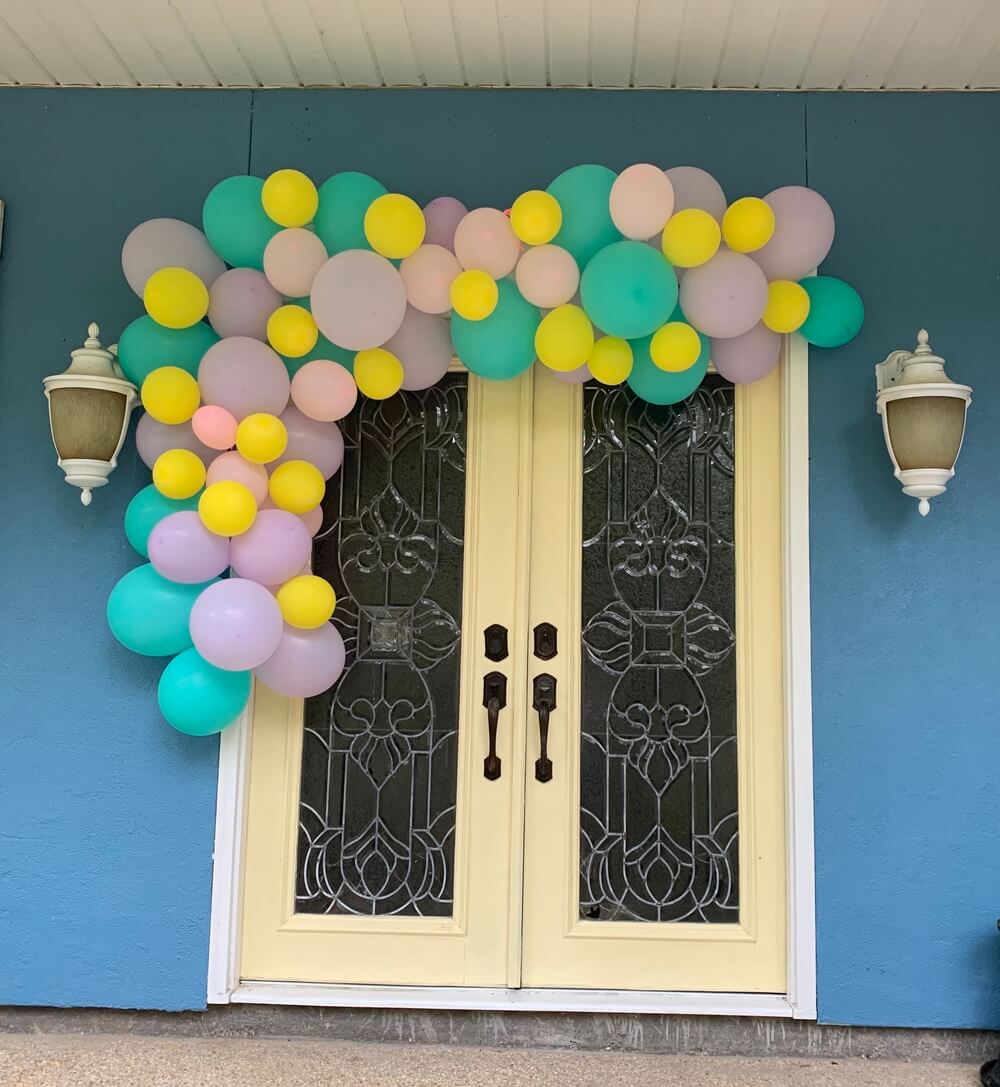
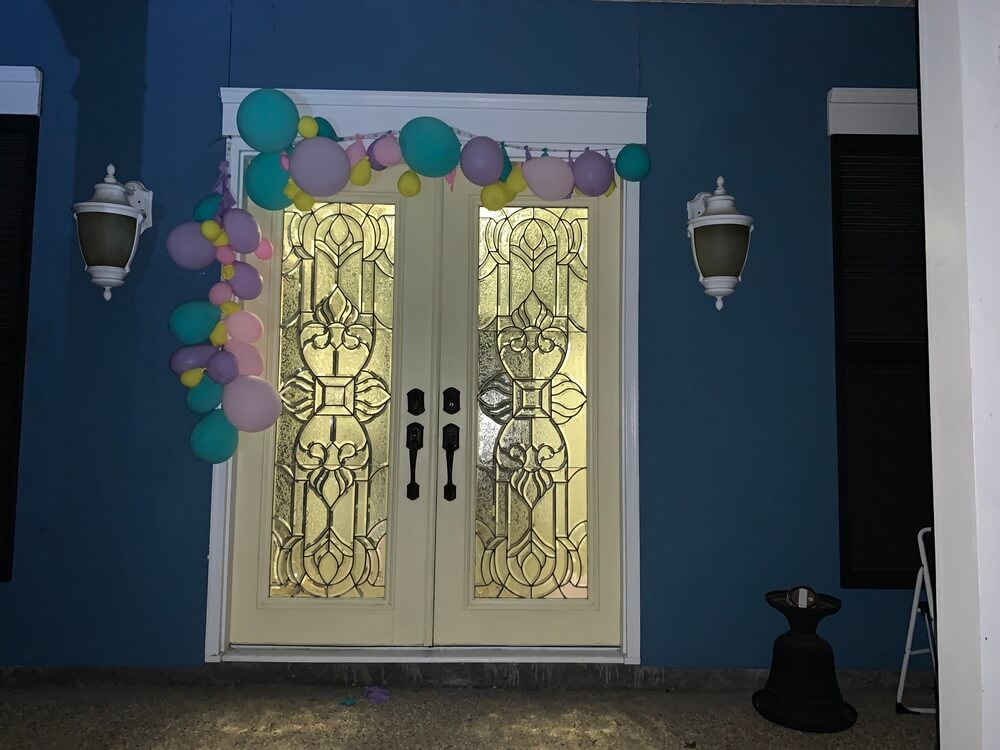
The first thing I did was measure out the length of the doorway where I wanted to place my balloon garland. After some trial and error, I decided to do two separate pieces – one across the top of the doorway and one going down this side. Cut your pieces and hang them. I used pushpins to hang it on the wood of my door frame.
I thought I could make my balloon garland and then hang it so I wouldn’t have to climb up and down a ladder. I was so very wrong. The balloon tape is very flimsy and once you start putting balloons on it, it twists around and I kept losing track of which way was up. I ended up having to take it all apart and hang the balloon tape, then start all over. Save yourself the time and hang it first.
I then blew up all of my balloons in various sizes. I thought I would want more large balloons than small balloons so that’s how I blew them up. I later wished I had more smaller balloons and next time I may blow them up as I go for this reason. You’re kind of stuck with what you got when you blow them all up first.
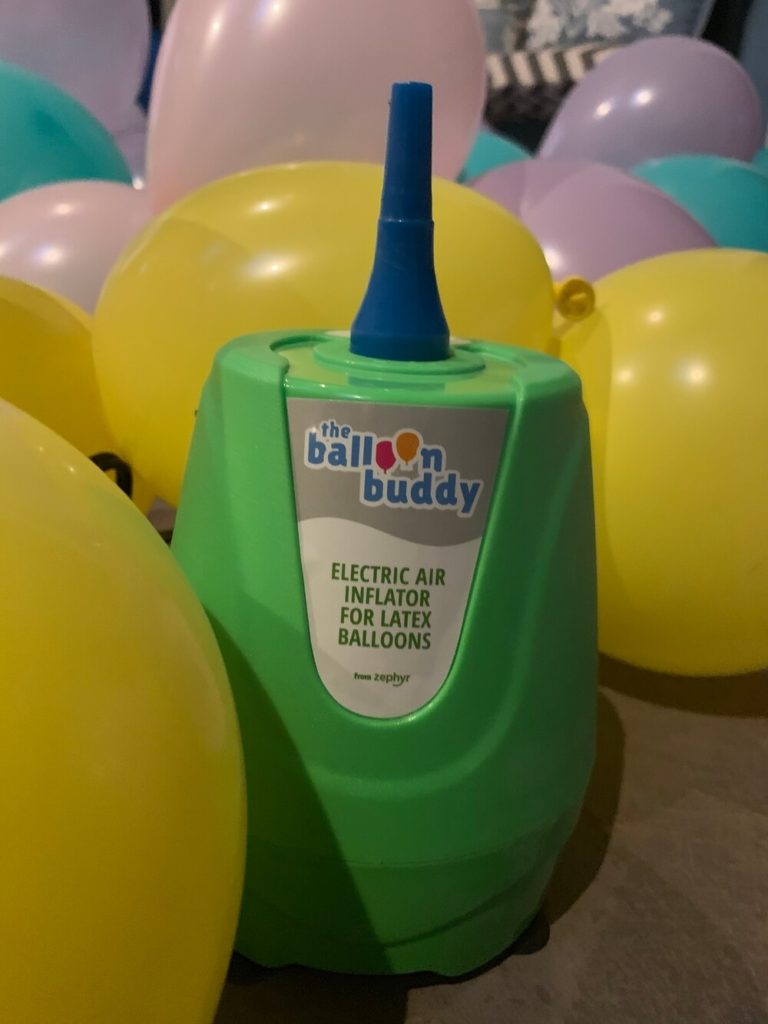
To blow them up, I used the electric inflator because there is absolutely no way I could blow them all up otherwise. Just the thought of it gets me light-headed. I used the yellow plastic tool to tie them. You just wrap you balloon around it and pull through the opening. This saves your fingers, big time! There are plastic fasteners if you don’t want to tie at all.
The next thing I did was start with the largest balloons and pull the ties through the holes in the balloon tape. I put them in every fourth hole. Then I filled in the space in the middle with the medium balloons.

Meanwhile, I plugged in my glue gun to let it warm. You have to use a low temperature glue gun because the high temps will pop the balloons.
I have to admit, this part made me nervous. Putting hot glue on a balloon doesn’t sound like a good idea, but I was pleasantly surprised when it didn’t pop in my face, except for that one time. I had accidently touched the tip of the glue gun to the balloon and it immediately popped. Thankfully the glue only fell on my hand and didn’t shoot up into my face. Be very careful during this part if you choose to use a glue gun. You can also purchase glue dots that are peel and stick if you don’t want to try the glue gun.
Put a small amount of glue on the smaller balloons and just filled in the spaces. It really is that simple!
I did mine outdoors during a week when it was very humid. I did it in the evening and the next afternoon, only one balloon had shrunk a tiny bit, but three days later, the entire thing was looking pretty pathetic. I did have a few leftover balloons that were bouncing around my living room for about a week so I think if I had done it indoors, it might have lasted a bit longer. It made a great weekend spring decoration and I could see doing this for birthday and holiday parties, showers and more for a cheap way to make a big impact.
Amanda Jones
Latest posts by Amanda Jones (see all)
- Kids Konnection Playground at Koop Drive - July 17, 2021
- Carnival in a Cup {Reginelli’s and The Lake House} - February 10, 2021
- Carnival in a Cup {Bistro Byronz) - February 2, 2021
Thanks Katy,
Beautiful job! I think they’re so festive and fun. I want to try this but worried about my lack of time. I’m giving a baby shower. How many feet would you say this garland is? and how much time did it take?