


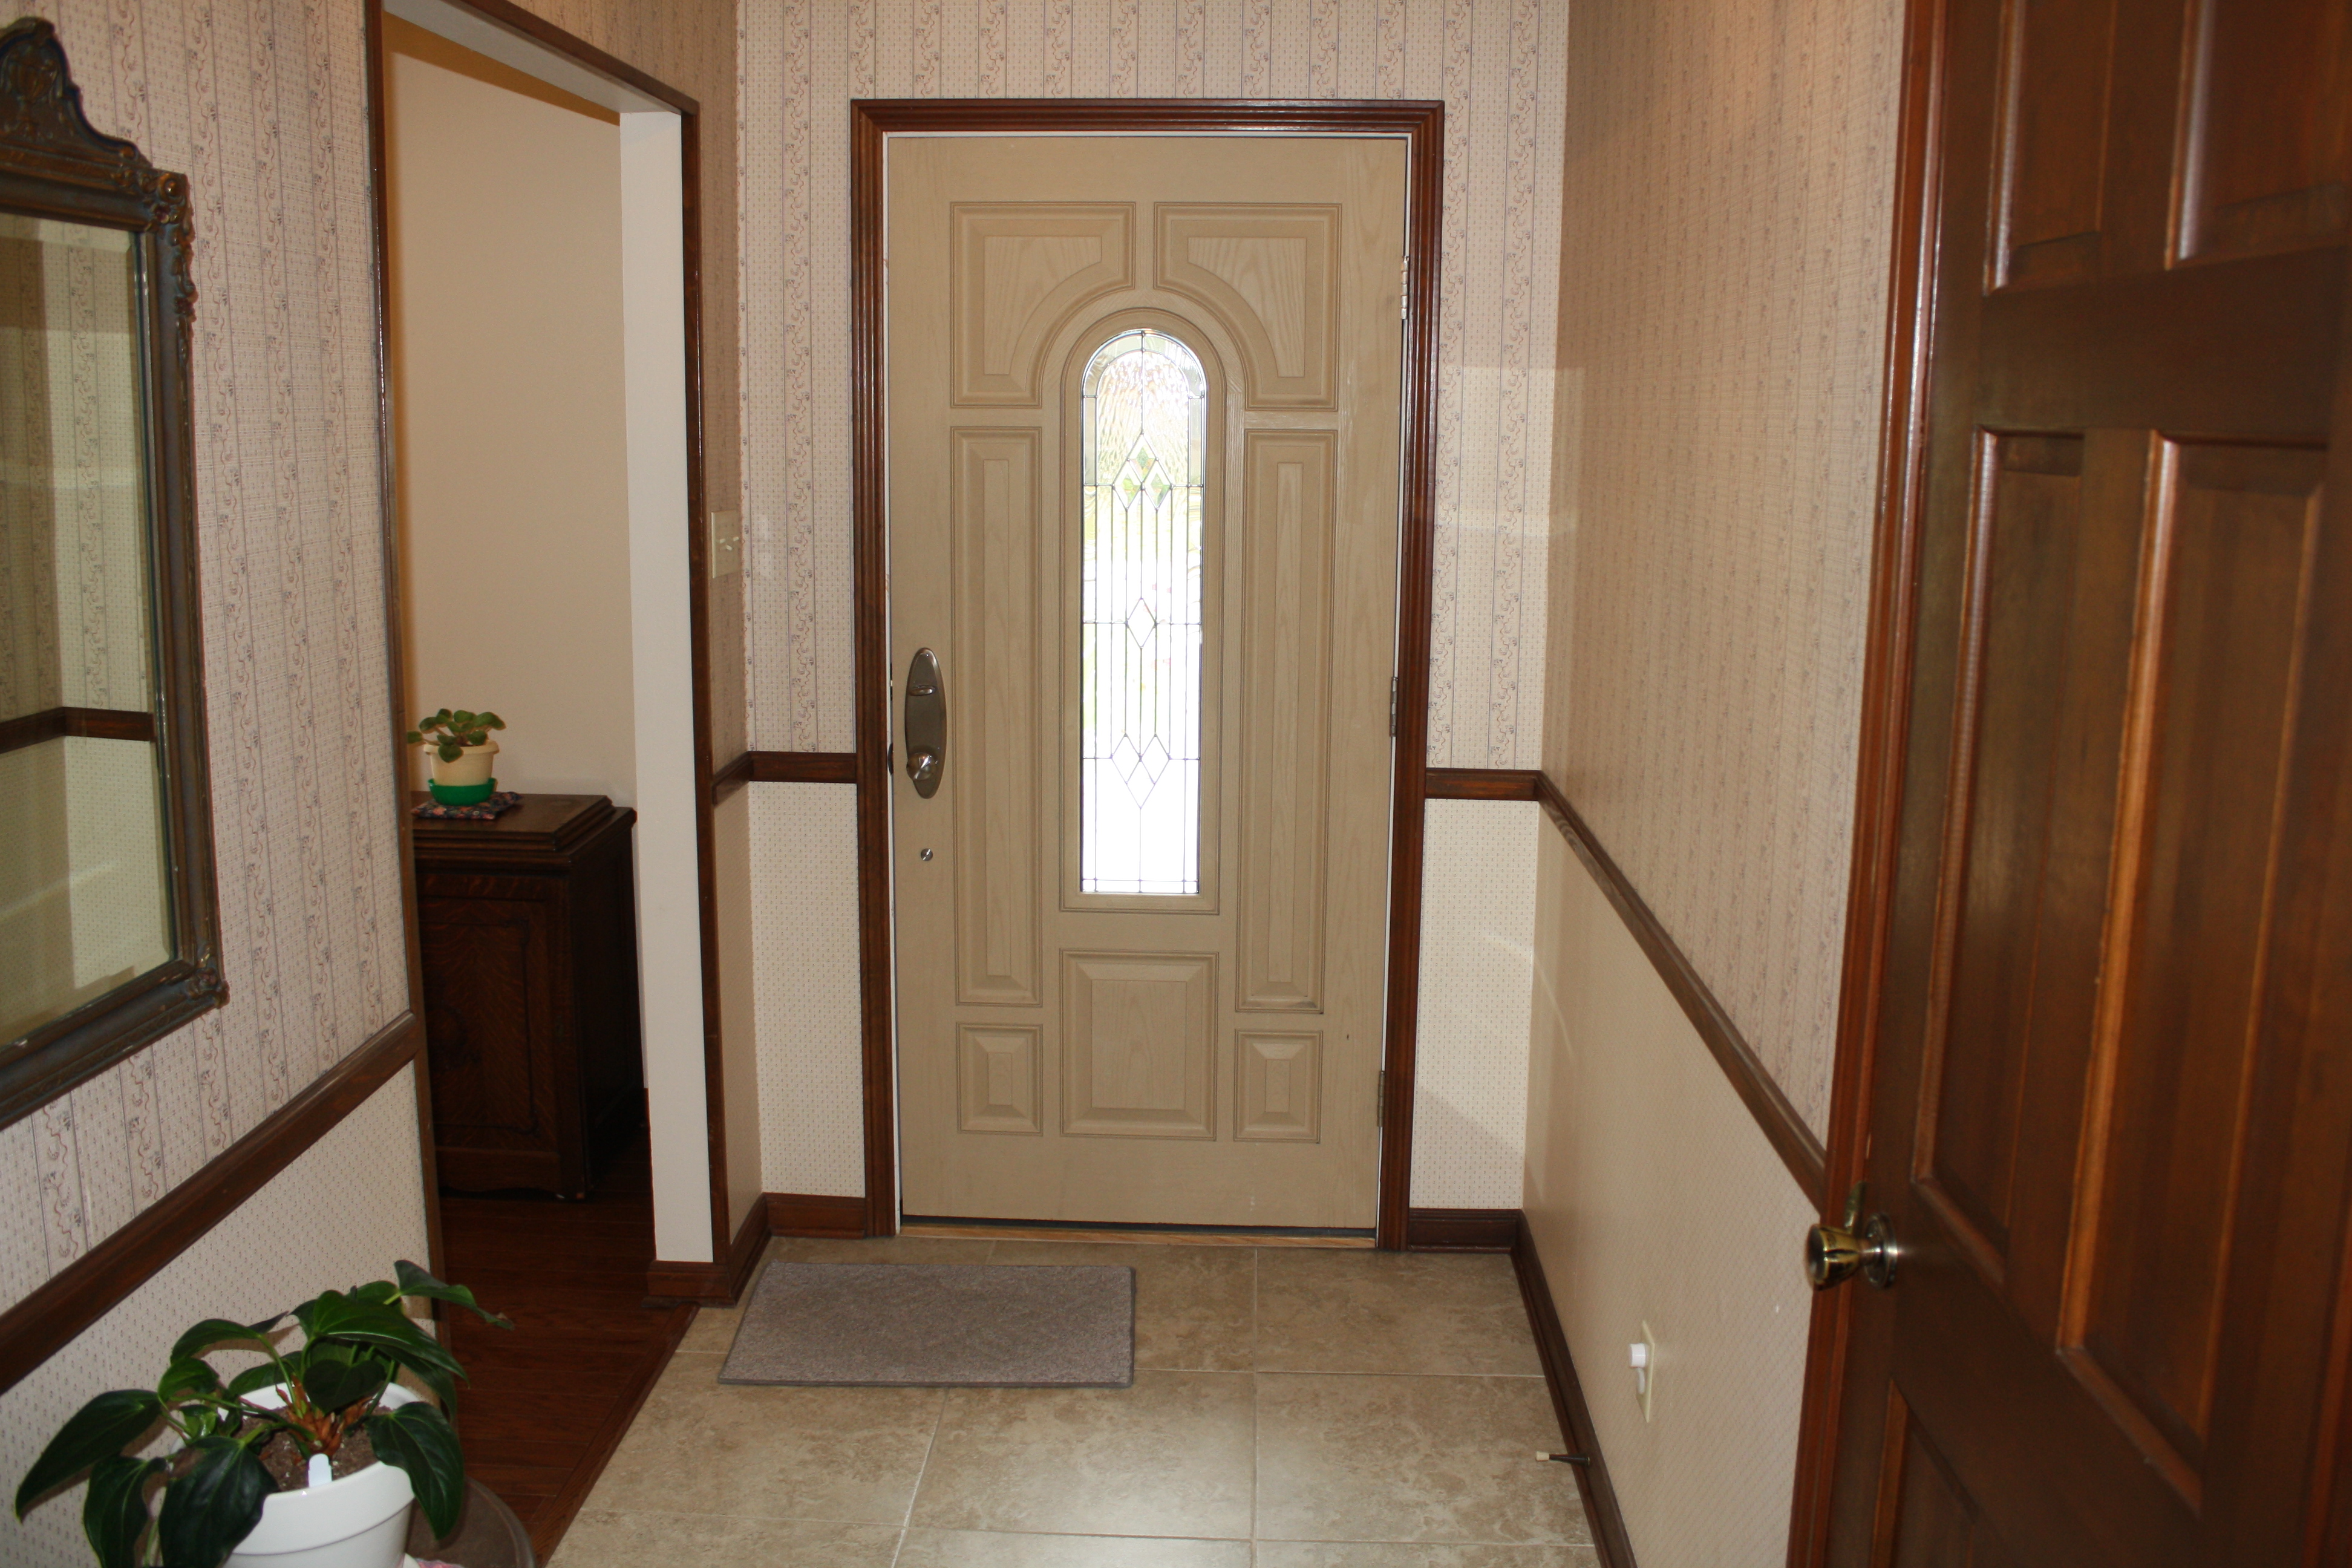
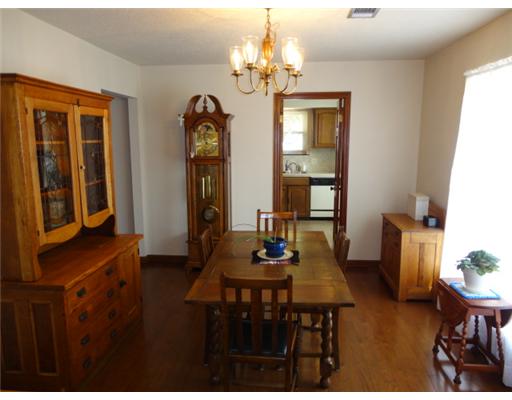
I’ve mentioned before that when we purchased our home in 2012, it was incredibly dated. Let me share with you some pictures from our foyer and dining room. Yikes.
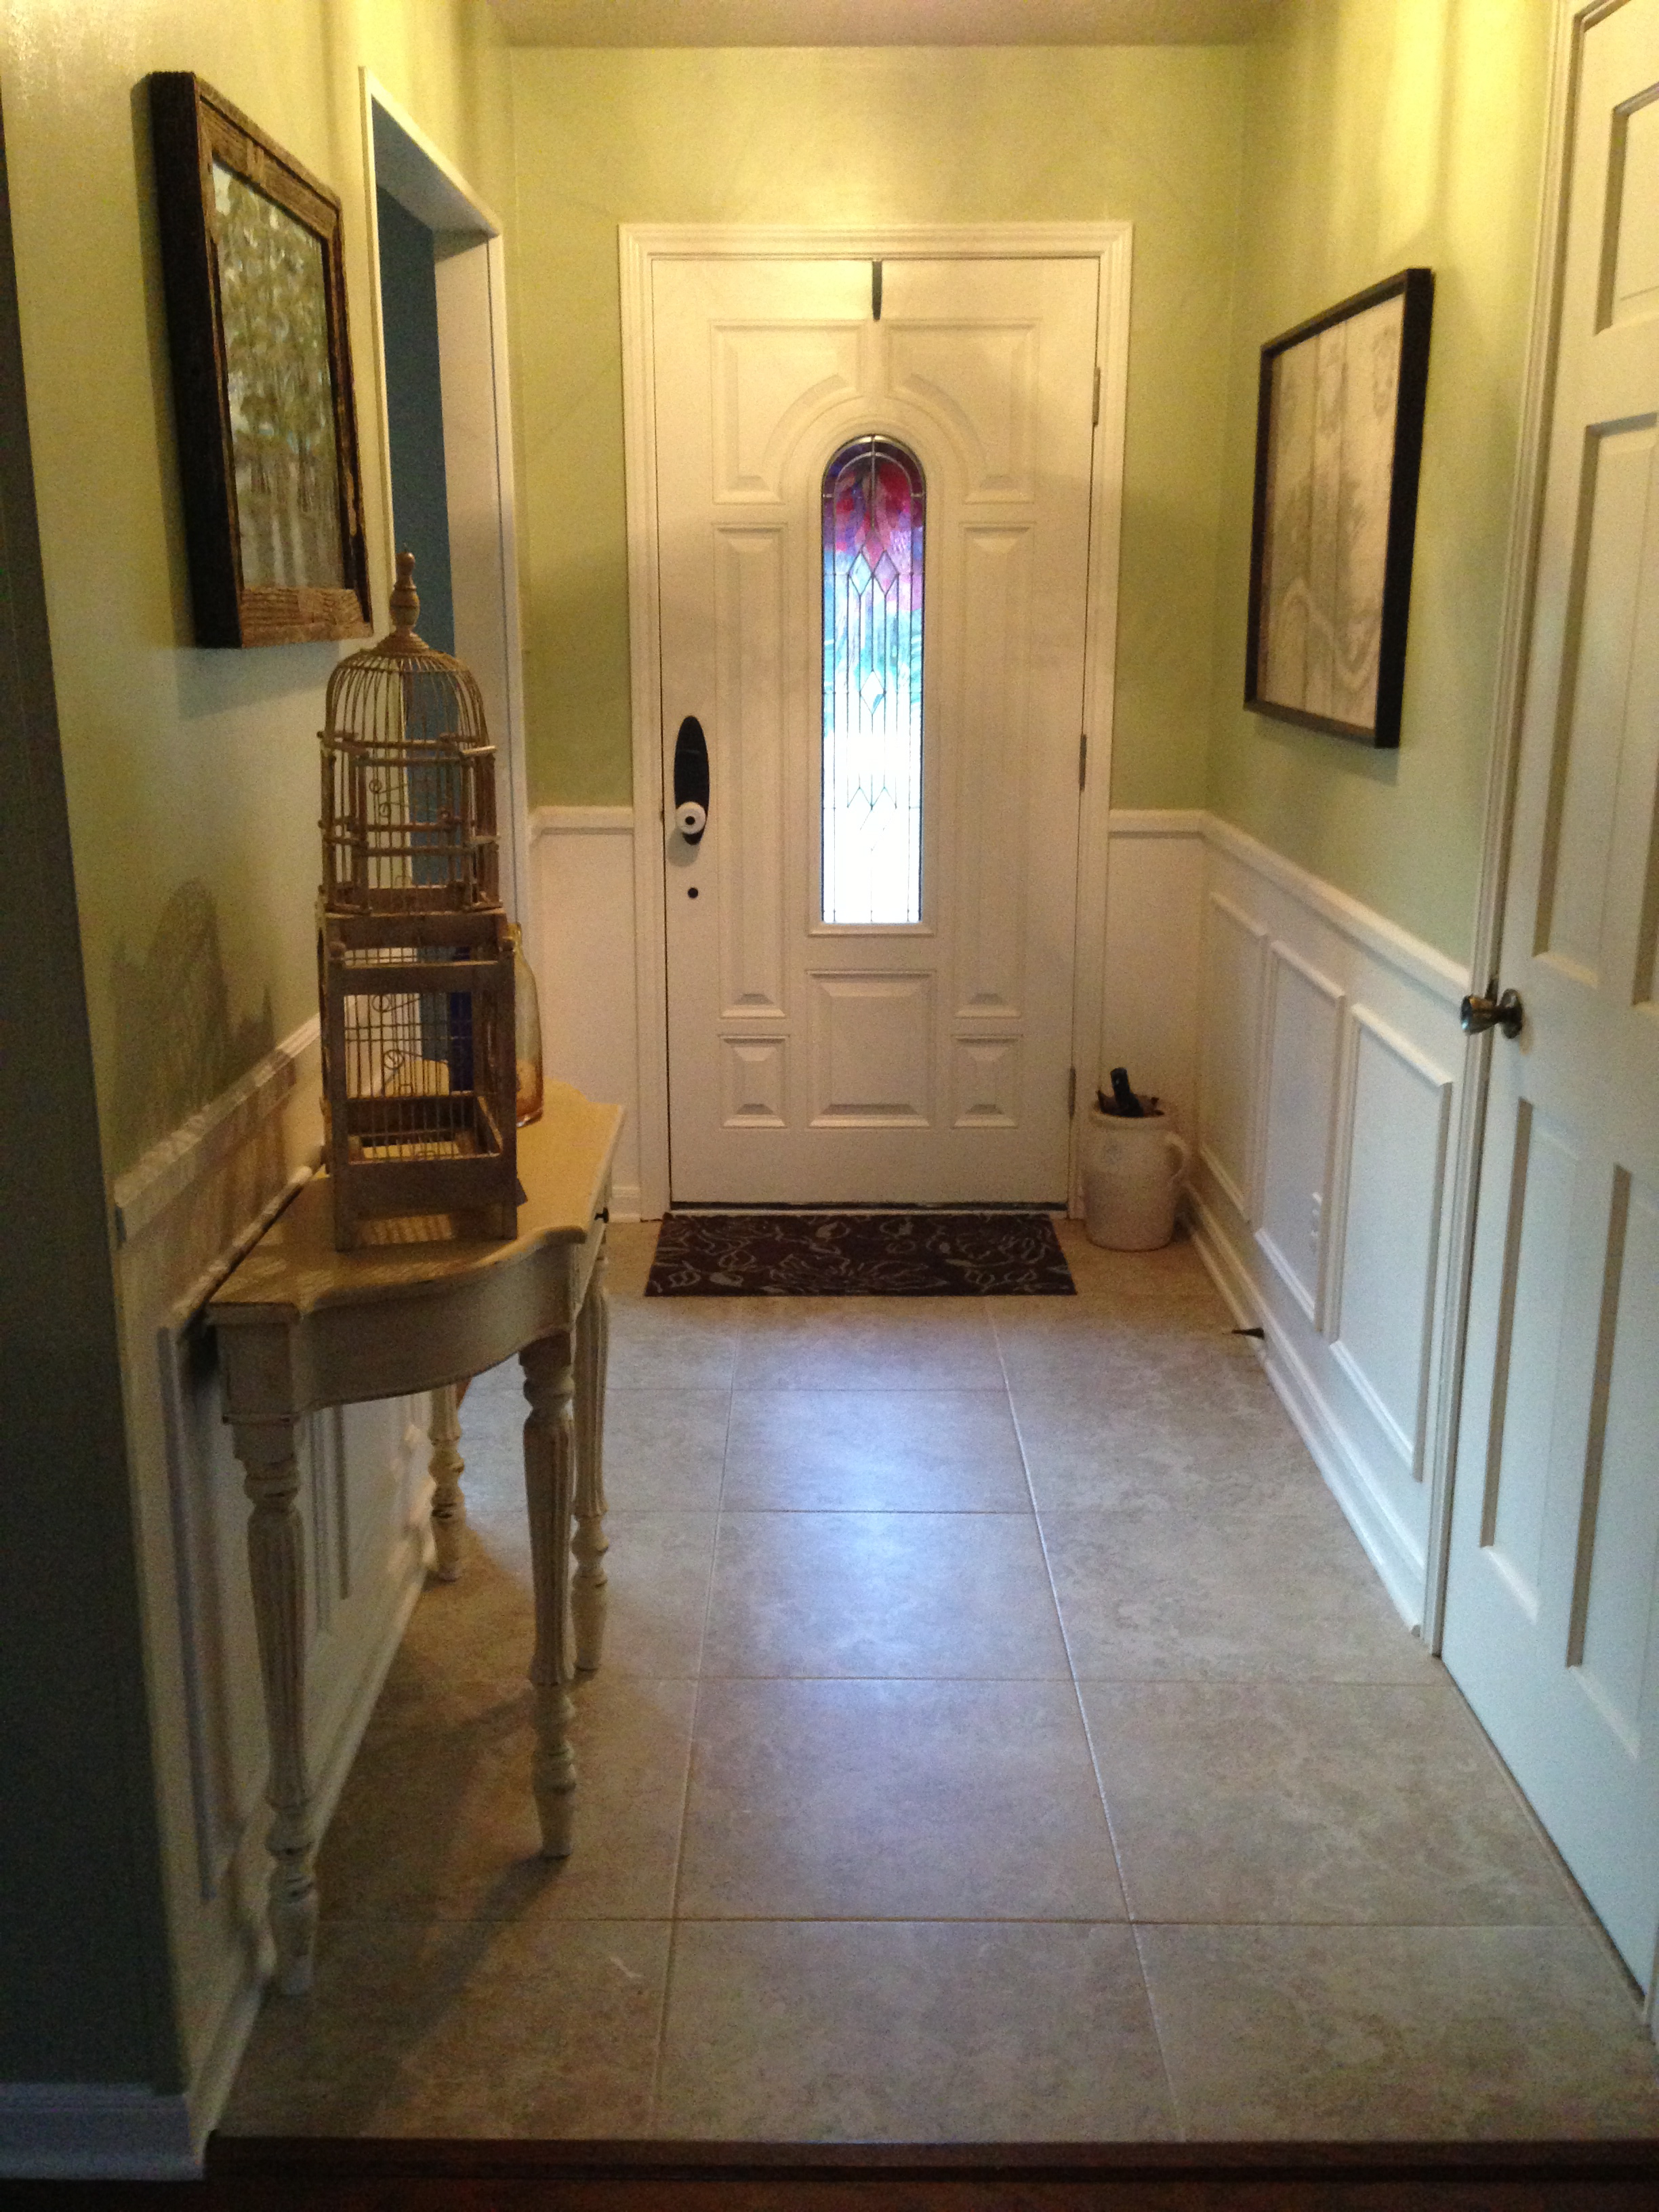
Within a month of moving in our house, I tore down the horrid wallpaper in our foyer and painted it. I eventually installed wainscoting underneath the chair rail and intended on doing the same in the living room. I finally got around to finishing the project recently, and I am so in love with the result. Moulding makes such a huge difference in a room, and it really isn’t that difficult to install.
The foyer after installing wainscoting!
First of all, and this might seem like a no-brainer, but you want to measure. The tricky thing about moulding is that it’s sold in 8 foot lengths (at least the kind that I use). So you’re going to want to figure out exactly how many lengths you need to purchase. If you’re doing a chair rail, the measuring is pretty easy. Just measure the lengths of your walls. The boxes are a little more tricky, because there are lots of numbers involved. I am horrible at math, so here is my dumbed down way to do it. First of all, I have to draw myself a picture. This is not optional for me. If I don’t have a picture, I can’t wrap my brain around what I’m supposed to be doing. So, I draw a picture of my wall first of all. Then I decide what I want the spacing to be like. For instance, all the boxes in my dining room are 3 inches below the chair rail, 3 inches above the baseboard, and three inches away from each other. So I draw as many boxes as I want on my wall and write little 3’s in all the spaces. Then, I total the 3s and subtract them from the length of the wall. Divide that number by as many boxes as you want, and that is how long you’ll need your horizontal pieces to be. Do the same for the vertical pieces: make a little 3 above and below the box, and figure out how many inches of wood you’ll need. Whew! Now pat yourself on the back, because you just got the hardest part out of the way.
Here’s a picture that I drew for one of my walls. I actually changed my mind and put four boxes on this wall, but that picture has tons of scribbled out figures and is a mess!
Now, you’ll need to go to the hardware store to purchase your wood. I’m going to let you in on a little secret. I don’t use real wood. Shhhh. I use prefinished poly-moulding that has what looks like foam behind it. I like it for two main reasons: 1. It’s cheaper, and 2. It’s lightweight and easy to install. Because this “wood” is so inexpensive, I like to buy one extra length to have in case of mistakes (which I almost always use). They sell this type of moulding at Lowe’s and at Home Depot.
I am pretty sure Home Depot only sells the white, but look at all the gorgeous finishes you can get at Lowe’s! All of this is poly-moulding, my fave.

You can see here how it’s not actually real wood. Another bonus to using this type of moulding is that you don’t have to worry about knots or splitting your wood. Each length is uniform, which makes it really easy to work with.

Now bring it home and mark the wood where you’ll need to make cuts. I just write directly on the wood, since I’m going to paint over it in the end. Now we need to talk about supplies and tools. You’re going to need all the moulding you just purchased, a miter box or saw (more on that in a minute), liquid nails, caulk, a caulk gun, and paint in the color of your choice. I mentioned that I’ve installed moulding in both my foyer and dining room. In my foyer, which is much smaller, I used a miter box to make my cuts. You can absolutely use a miter box for this type of project, no problem. This molding is so lightweight and easy to cut. But using a miter box is very time consuming. I got an electric miter saw before doing the dining room and was amazed at how much easier it made this project. If you don’t have a miter saw and don’t want to spend the money, ask a family member or neighbor. Chances are someone has one you can borrow. If you can use an electric saw, do it!
If you choose to use a miter box, just place the wood in the box. Using your picture that you drew as a reference, determine the angle that you need and place your saw in the designated slots. Then saw away. It’s really simple, but again – it takes a little extra strength and time.

If you use an electric miter saw, set the saw to the angle you need, place your wood on the base, and slice that puppy like soft butter. It’s quick and easy, and you’ll get a total rush from using a power tool! Now, repeat this step until all your wood is cut.

Now, hold up your molding on your wall and get an idea for exactly where it needs to go. Be sure to measure from all directions. Apply liquid nails to the back of your wood (you use it just like caulk), and press the wood onto the wall. Make sure it’s level! I use several pieces of painter’s tape to hold it up for a few hours after applying. This is the fun part! It’s like putting together a puzzle. Apply all your wood and give it a few hours to set.

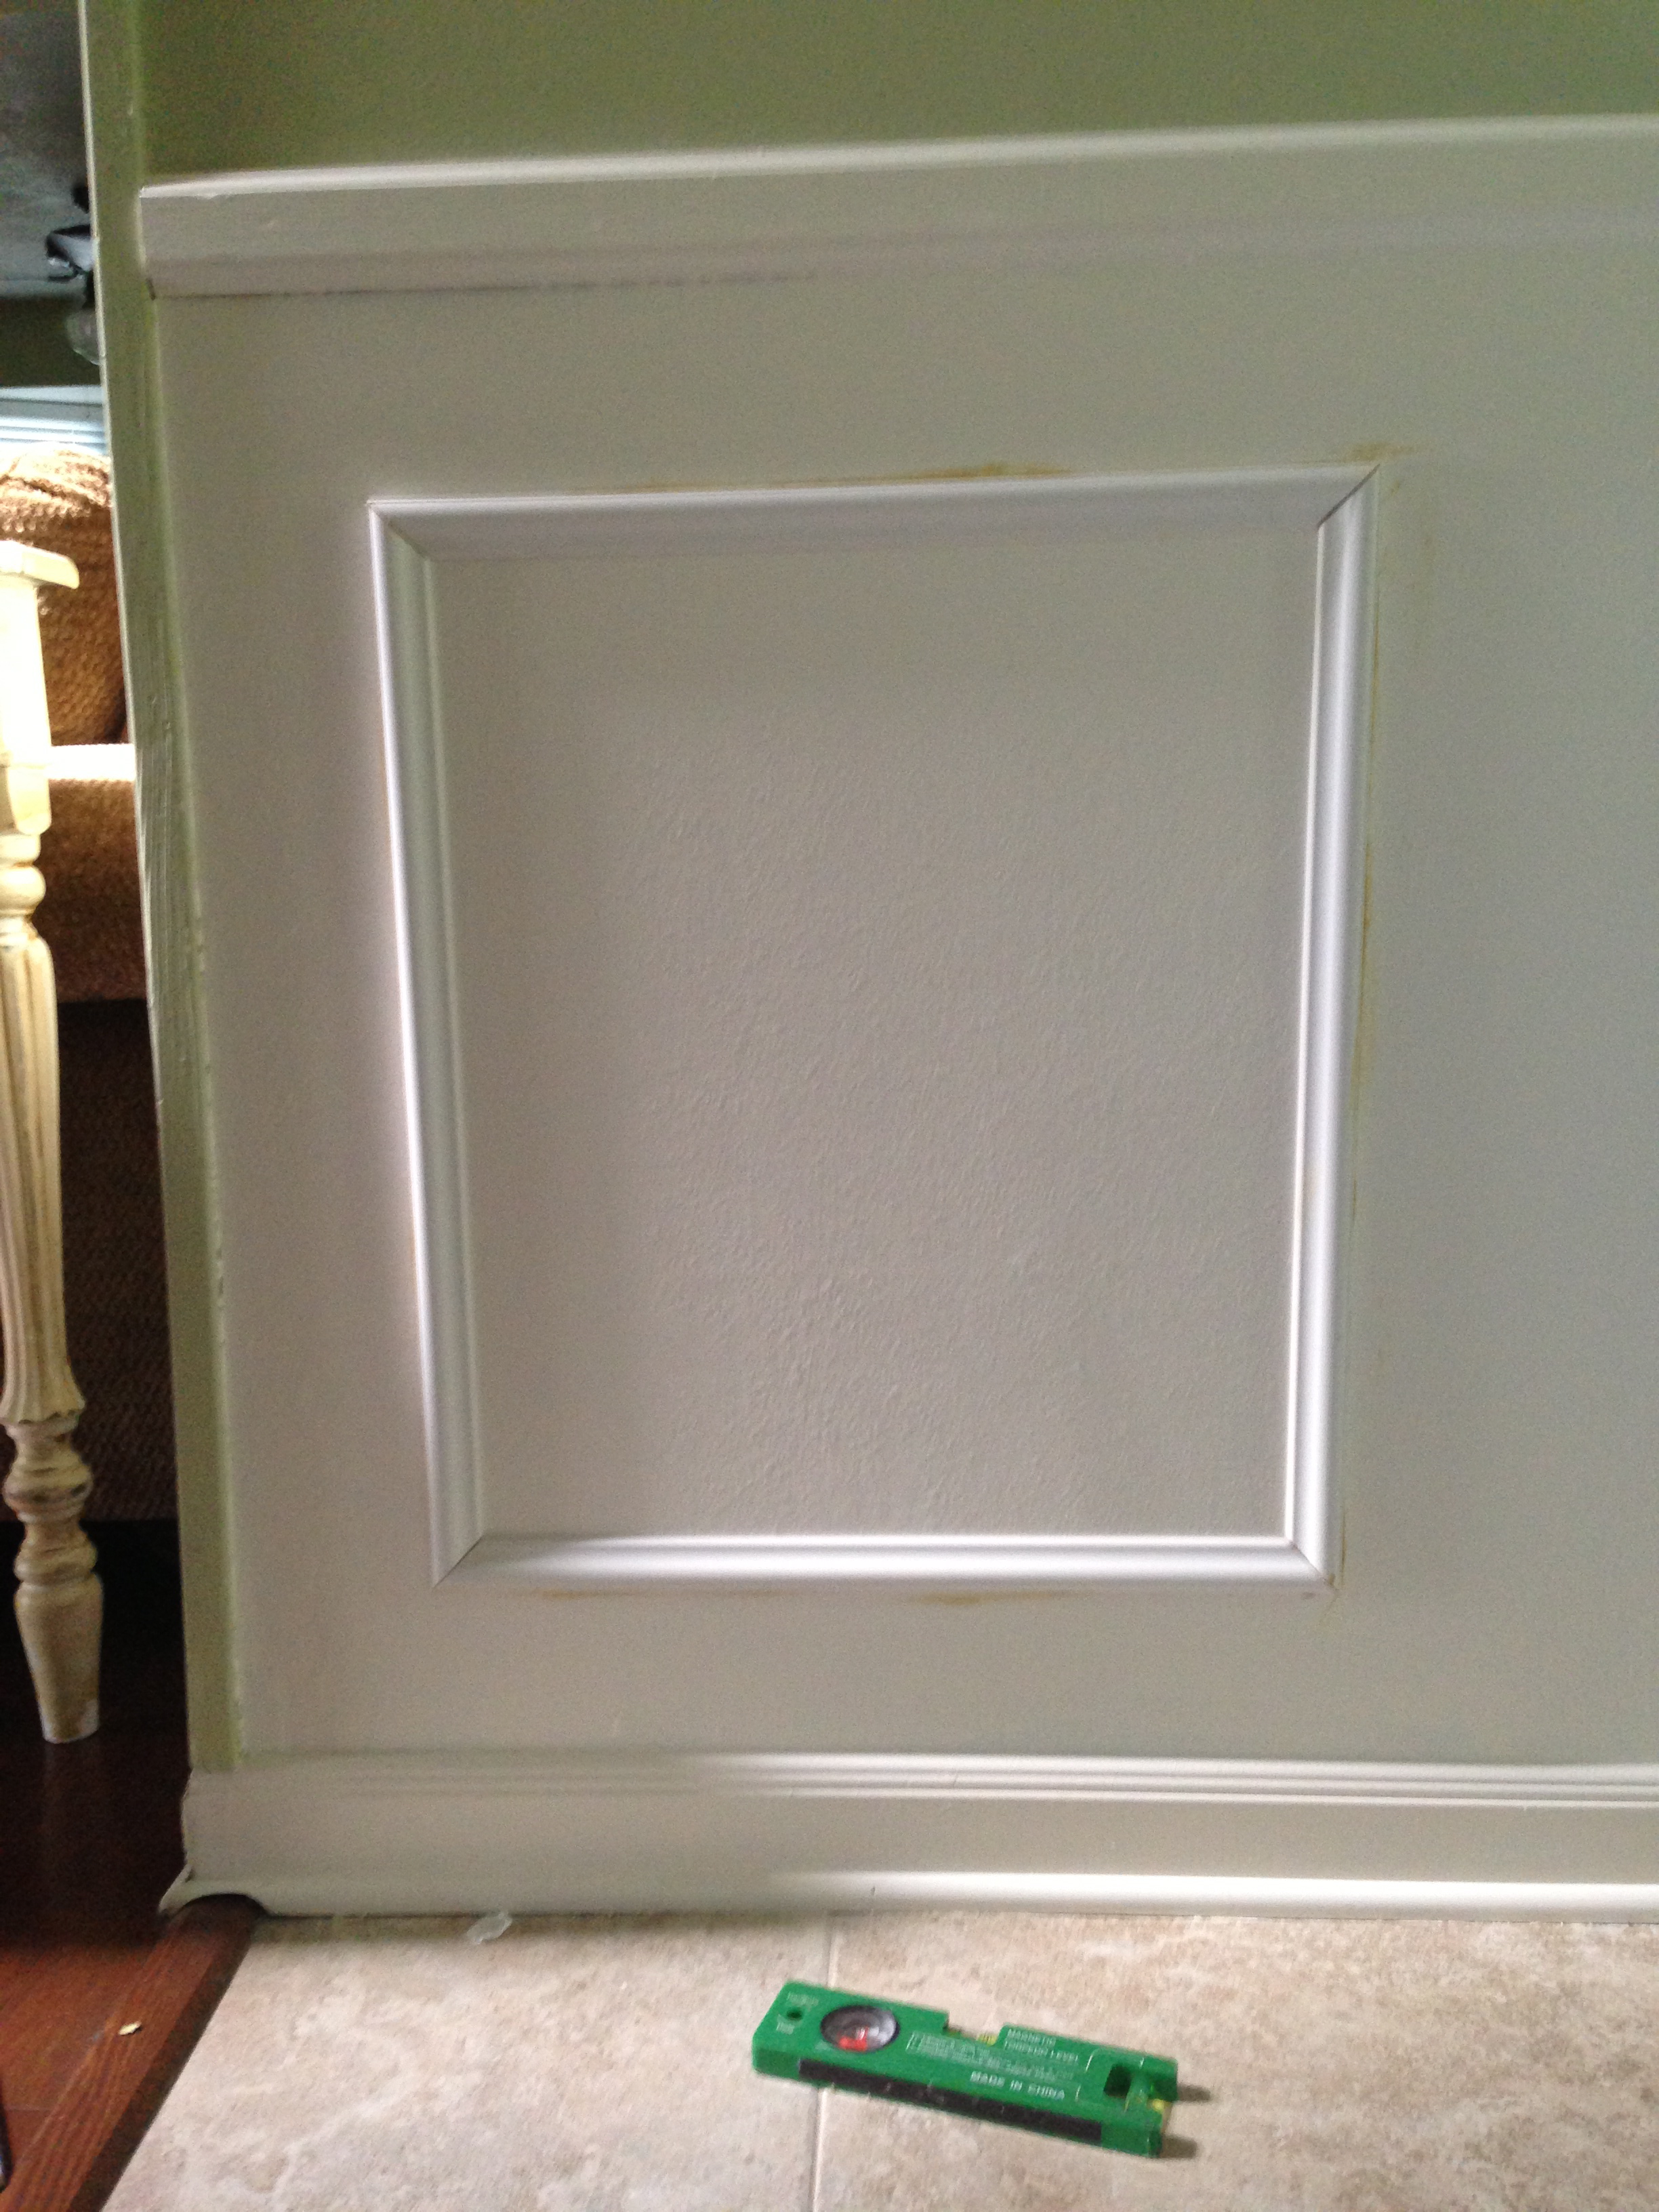
Take off the painter’s tape. You’re almost there! Apply caulk to all edges and corners. If you have some gaps in between your miter cuts, this is where caulk really saves the day. You would not believe the horrible mistakes caulk has covered up in my house. If necessary, let it dry and then apply some more for really large gaps. Even if an edge or corner looks good already, apply caulk. This is a boring step, but I promise you it makes a huge difference. See, that awful gap in the top right corner of my box? You can’t even tell after I caulk it. And pay no mind to the brown liquid nails that seeped out, because paint will cover that right up.
Once the caulk is dry, paint over the moulding in your desired color. You did it! You installed wainscoting and made your house look custom and totally adorable. Post a ton of pictures to Facebook, put your feet up, and watch the praises roll in. You are a rock star!
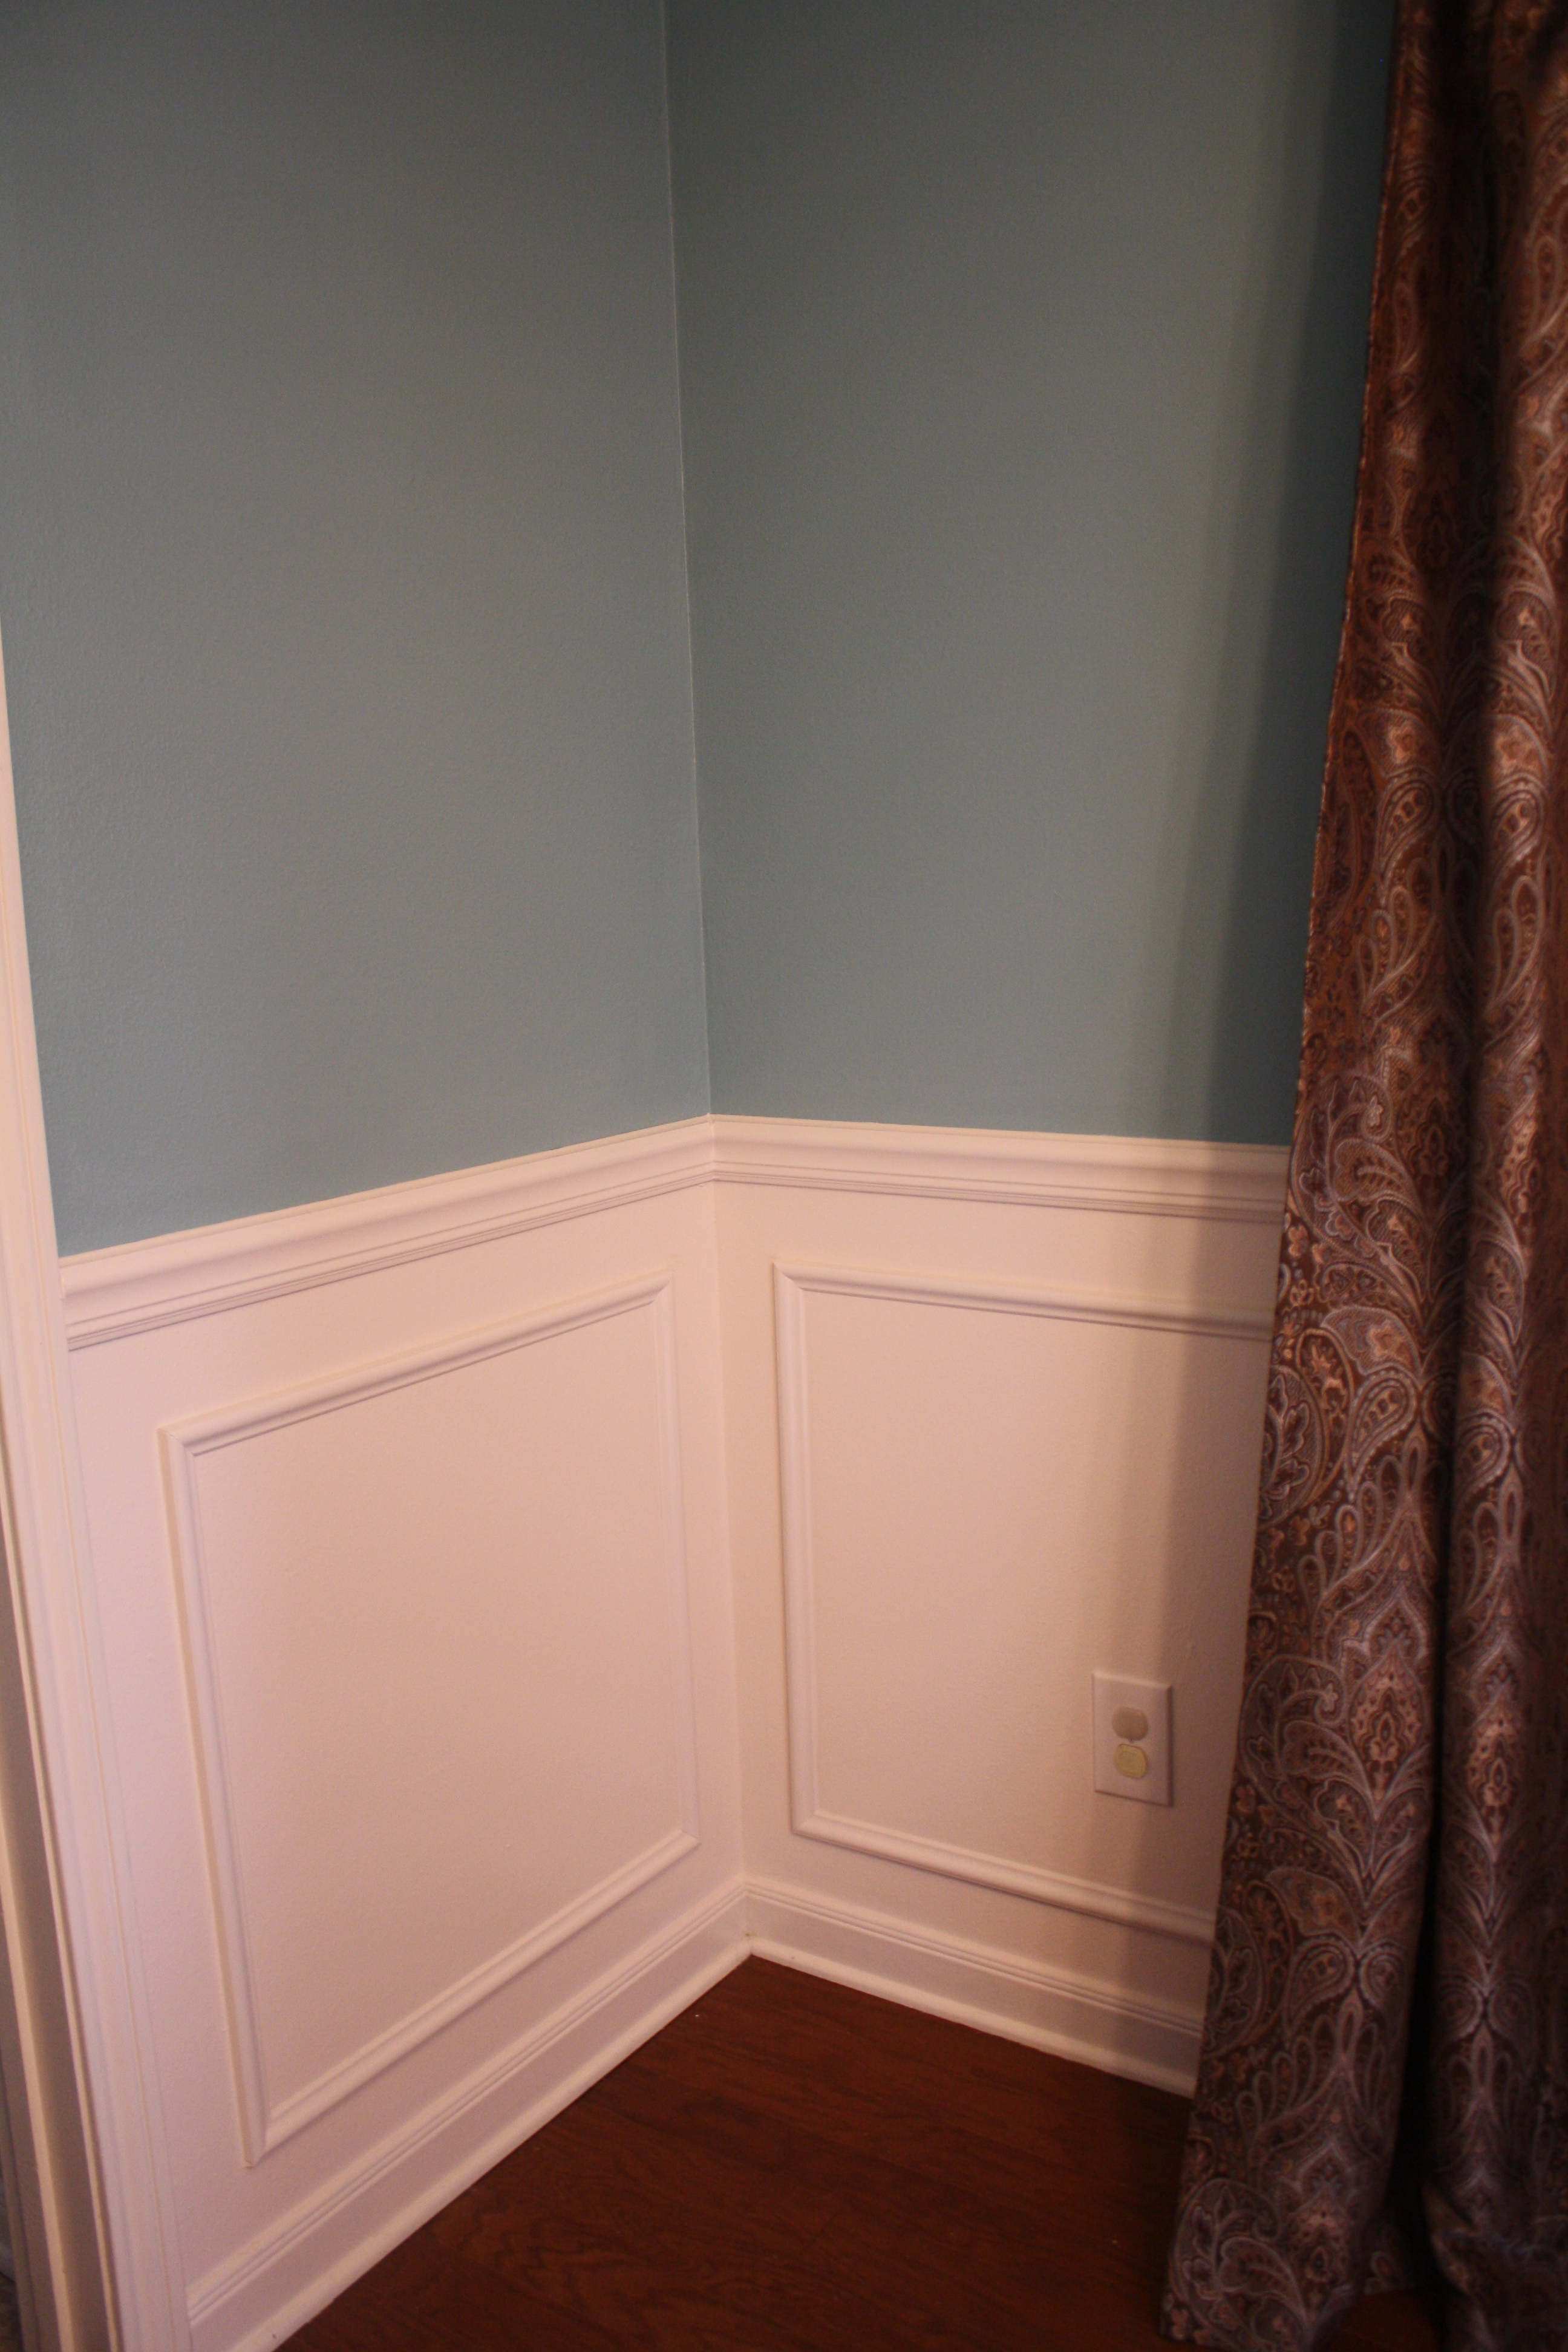
Here’s a close up on a corner after caulking and painting. Before I caulked, I had a HUGE gaping hole in that inside corner of the chair rail. Caulk and paint hides it beautifully. Also, pay no attention to my attractive outlet covers!

Here’s the before shot so you can compare (it’s from when we were house hunting).
As with every room in my house, this one is being done in stages. We’ve installed chair rail and wainscoting, put up a new chandelier, and furnished the room (for the most part). Now I need to finish decorating and install crown moulding!

Jo
Latest posts by Jo (see all)
- Five Things I Love About Disney’s Grand Floridian Resort & Spa - November 7, 2018
- Six Things I Love About Disney Cruises - September 30, 2018
- Defining Your Home’s Style - January 13, 2018