

When I found out one of my twins was a girl I was so excited to deck her out in smocked dresses and big Southern bows. Enter a little girl who didn’t have enough hair for a bow until just after her first birthday. As soon as she had about 3 strands of hair to stay in a clip, it was on. I bought a simple white bow. And then a red one. Then pink. The next thing I knew I was learning how to make them to match every outfit. The bows were out of control! We needed some sort of way to corral the bows that were slowly taking over. I researched different methods of storage and organization and, decided, what better way to organize all the bows I was making than with a DIY bow holder? And, while I’m at it, why not make it monogrammed because, if it’s not moving, monogram it, right?
The project turned out to be super quick and easy; it was actually less work than making the bows themselves. Today, I’m going to show you how make your own.
Supplies you’ll need:
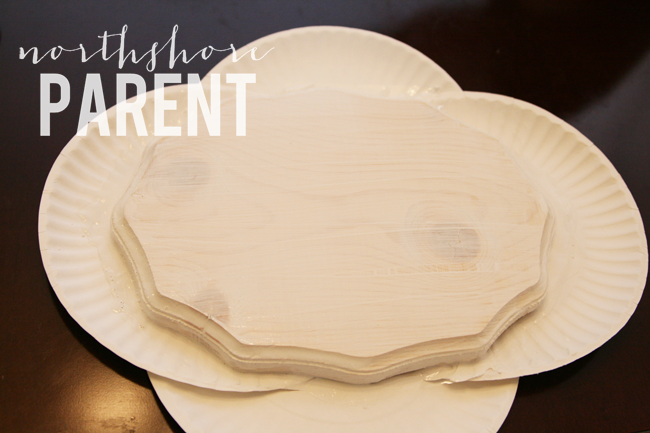
• Wooden plaque (available at Michael’s or Hobby Lobby)
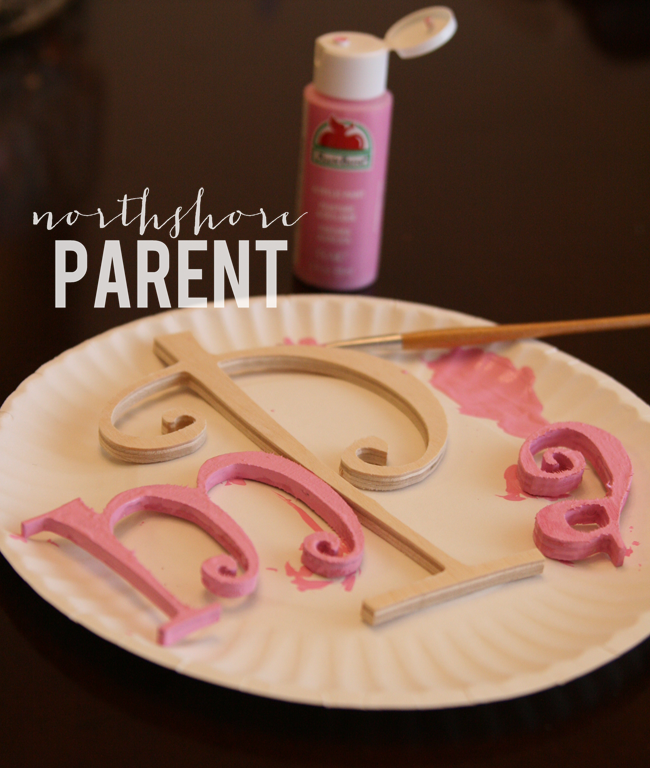
• Wooden letters (also available at Michael’s or Hobby Lobby)
• Paint – one color for the plaque, one for the letters – you can even do spray paint if you want.
• Clear coat (Optional but it makes for a nice finish)
• Ribbon
• Hot glue gun
First, you’ll paint the wooden plaque. I used interior paint leftover from when we refinished furniture to match some of the other furniture in the twins’ room but anything that covers wood will work. I didn’t sand it, although I’m sure it wouldn’t hurt, and primer is never a bad idea, especially if the wood is knotty. You may need a few coats.
In between coats or while the paint on the plaque is drying, it’s time to paint the letters. I chose a simple pink and used craft paint, but really, the sky’s the limit with how you want to do the letters and the plaque. I am woefully inept when it comes to anything freehand, but I’m sure there are some of you out there that could do amazing things in terms of patterns or designs. For me, though, I just kept it simple.
Once your letters and your plaque are dry, figure out where you want them on the plaque, and hot glue them down. Once the glue is dried, if you have any sort of clear coat or sealant, now is the time to put it on. Totally optional step but it gives a nice finish, especially if you use some sort of gloss, and it helps
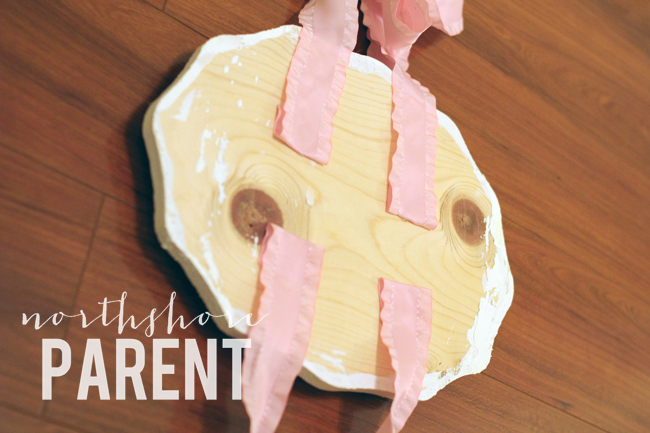
seal the letters to the plaque. Now it’s time for the ribbon. Take two lengths of ribbon and hot glue it to the back of the plaque so it hangs down. You could do more or less strips of ribbon depending on the shape of plaque you use and the width of ribbon. For my project, two lengths of 1.5 inch wide ribbon worked best. Grosgrain ribbon will be less slippery than satin ribbon; I used a ruffled satin that had enough body to it that the bows wouldn’t slide right off.
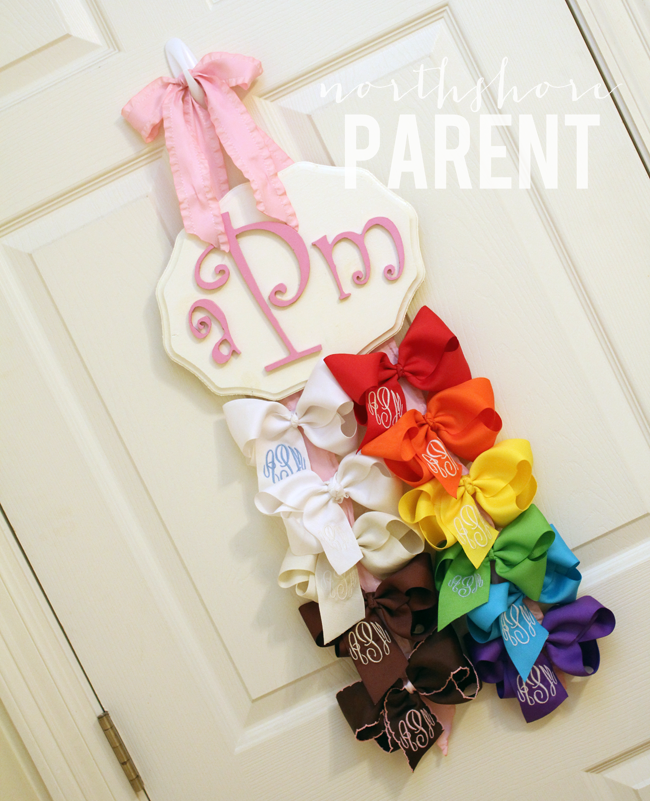
To make the hanger, you can either attach a picture hanger to the back, or, use a length of ribbon, which is what I did. Figure out how far you want it to drop, glue on either side and, like that, you’re done! Tie a bow at the top if you want to make it extra girly (which, of course, I did).
Time to hang it up and organize your bows.
Aimee
Latest posts by Aimee (see all)
- How to Take Kids to Mardi Gras - February 14, 2023
- Halloween Activities on the Northshore - September 5, 2022
- Bayou Jam Concerts in Slidell - November 2, 2021